A step-by-step guide to creating custom maps with Google
Google maps is the most popular mapping tool out there. It has a vast database and it’s free to use. We’ll show you how to create custom maps for any purpose, and how you can do it even easier!
Step 1: Sign into Google Maps
To start, you’ll need to sign into your Google account. If you don’t have one, you can create one for free at https://accounts.google.com/signup. Once you’re signed in, open Google Maps in your web browser.
Step 2: Create a new map
Click on the three horizontal lines in the top left corner of the Google Maps screen. This will open a menu on the left side of the screen.
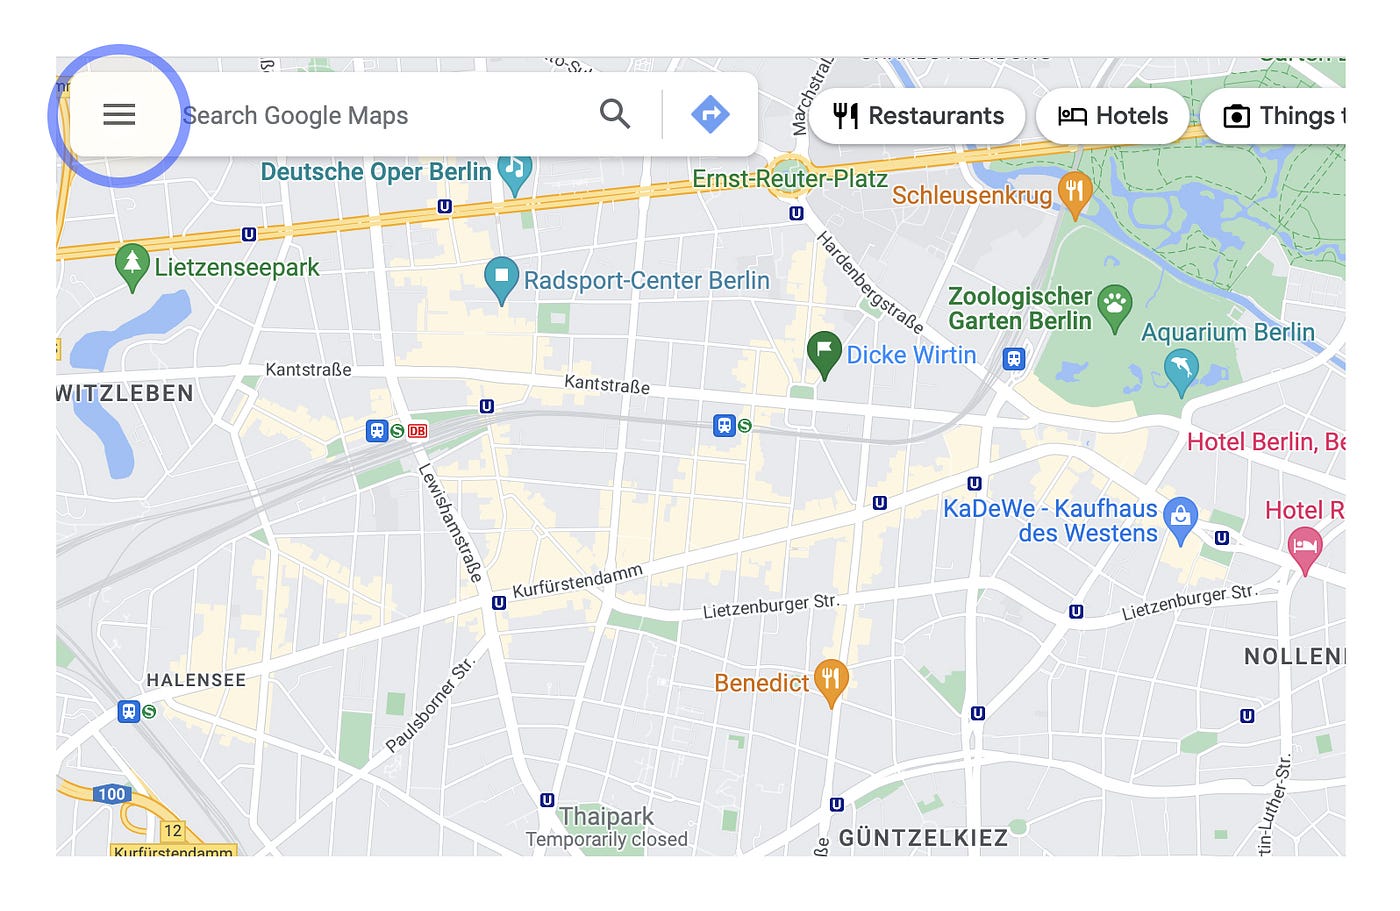
Click on the three horizontal lines in the top left corner of the Google Maps
Click on “Your Places”.
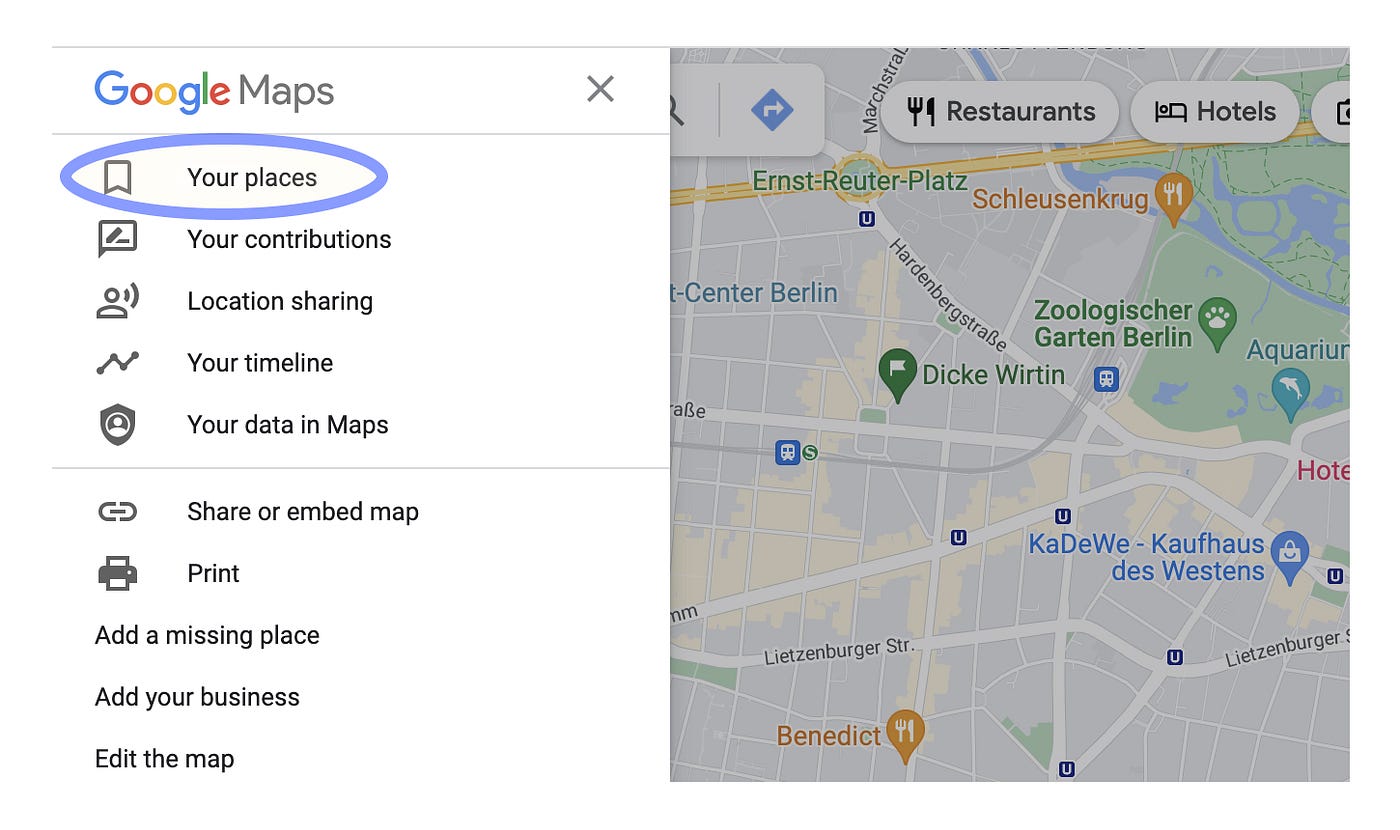
Your Places section in Google Maps
Select the “Maps” tab from the menu and click on the “Open My Maps” button to go to the “My Maps” area.
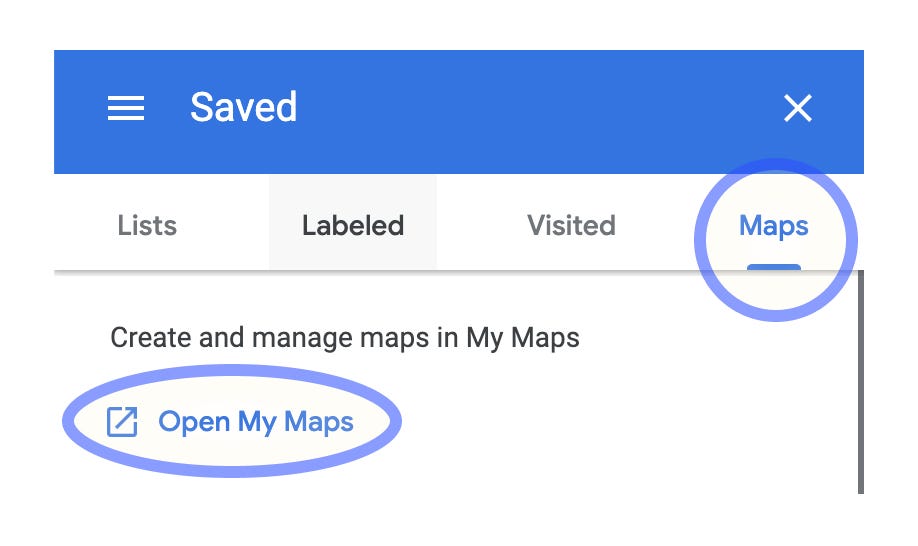
My maps Tab
Click on the “Create Map” button in the top left corner.
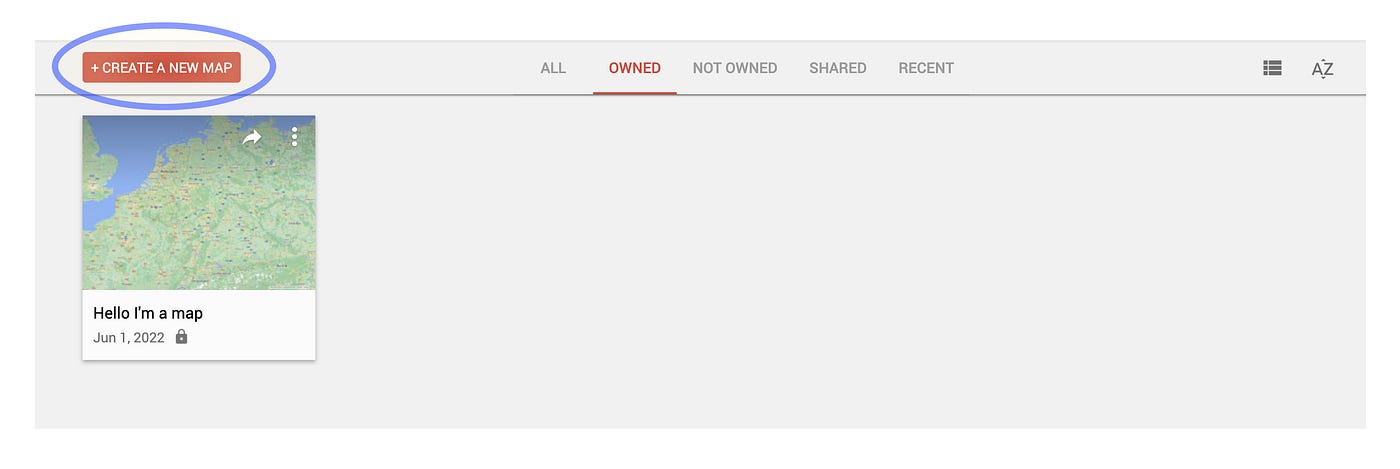
My Maps section
Step 3: Add your locations
With your new map open, you can begin adding locations to it. You can do this by searching for a specific place in the search bar at the top of the screen and then clicking on the “+” icon that appears on the right side of the search result. You can also add locations by clicking and dragging the map to a specific area and then clicking on the “+” icon that appears in the top left corner of the screen.

You can customize and add locations to the map
Step 4: Customize your map
Once you’ve added all of your locations, you can customize your map by giving it a title, description, and choosing a color scheme. You can also add lines or shapes to connect different locations on your map. To do this, click on the “Add Line” or “Add Shape” button in the top left corner of the screen.
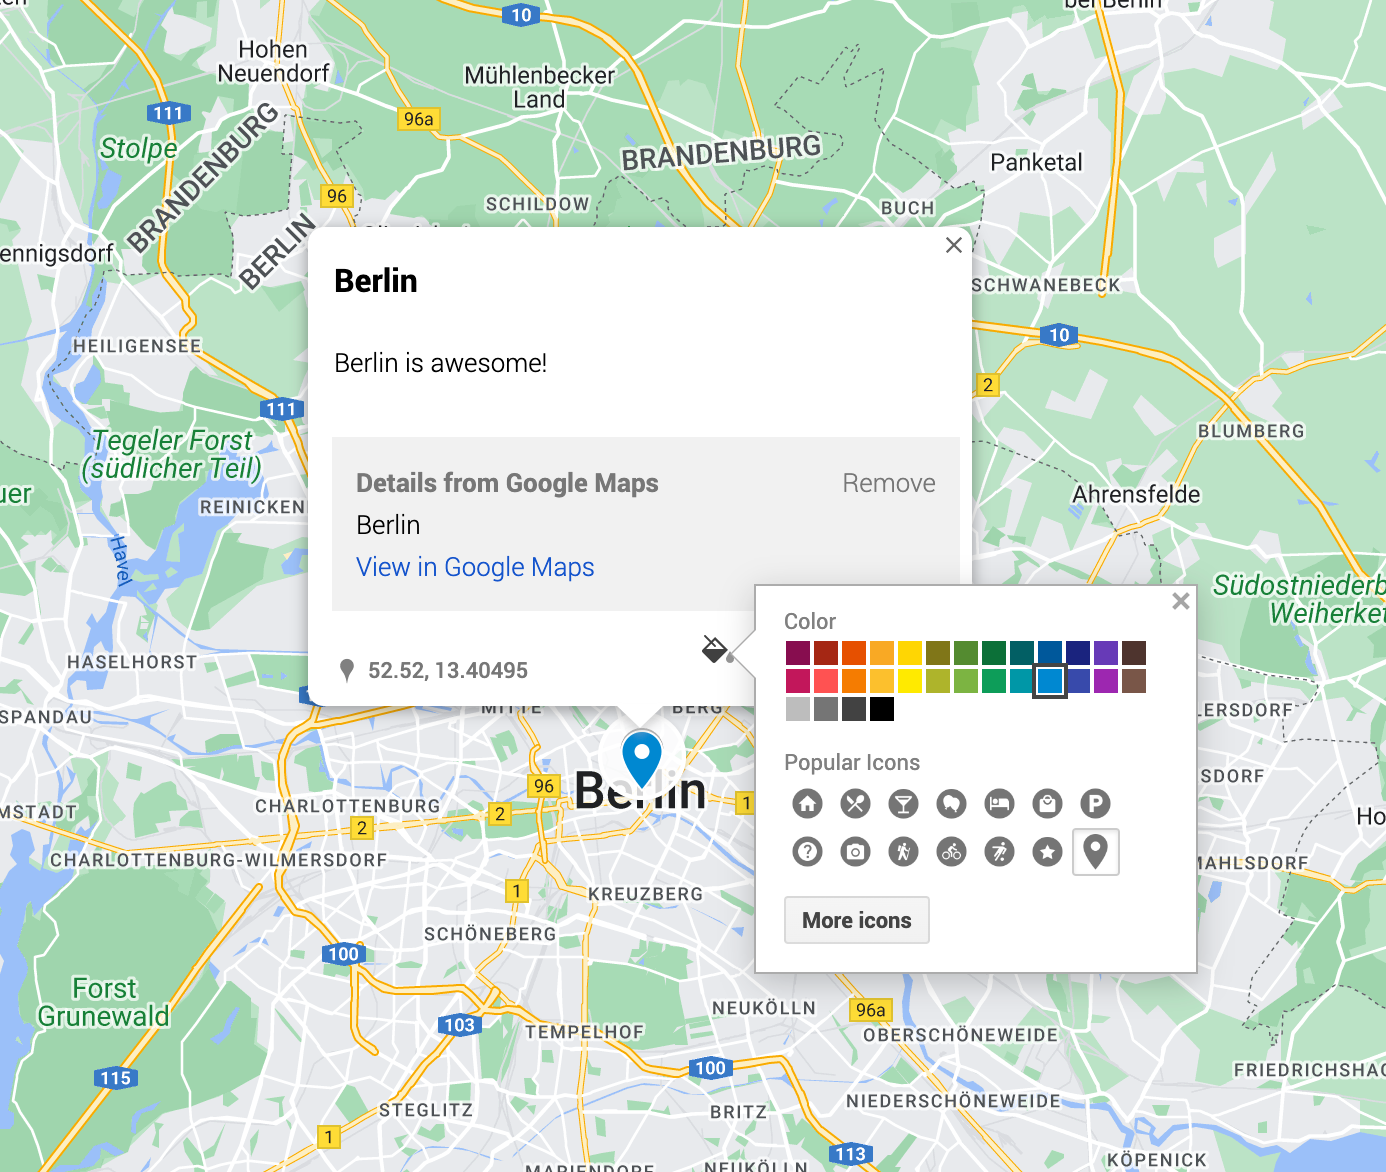
Give descriptions and change styles
Step 5: Share your map
When you’re finished creating your custom map, you can share it with others by clicking on the “Share” button in the top right corner of the screen. This will give you the option to share your map via a link, email, or social media.
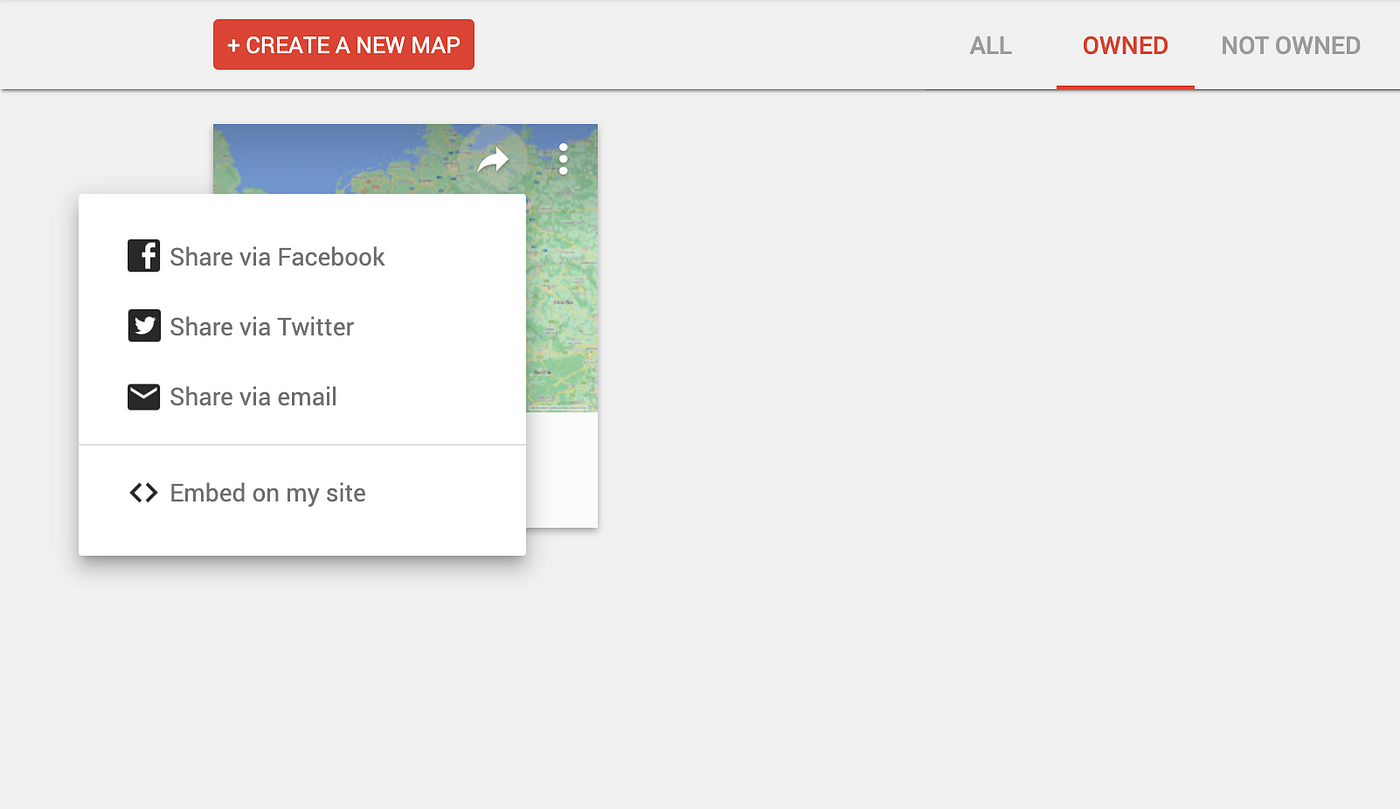
Share your map
You can create a map that will help you stay organized and on track, whether you’re planning a road trip or just want to keep track of your favorite restaurants and shops.
The main issue with Google Maps and other mapping tools
There’s a reason people don’t rush to use Google “My Maps” or other mapping tools. There is no easy and quick way to use them. You have to put in the time and effort to create them, learn the tool, and manually add each place, etc…People just don’t want to invest that time.
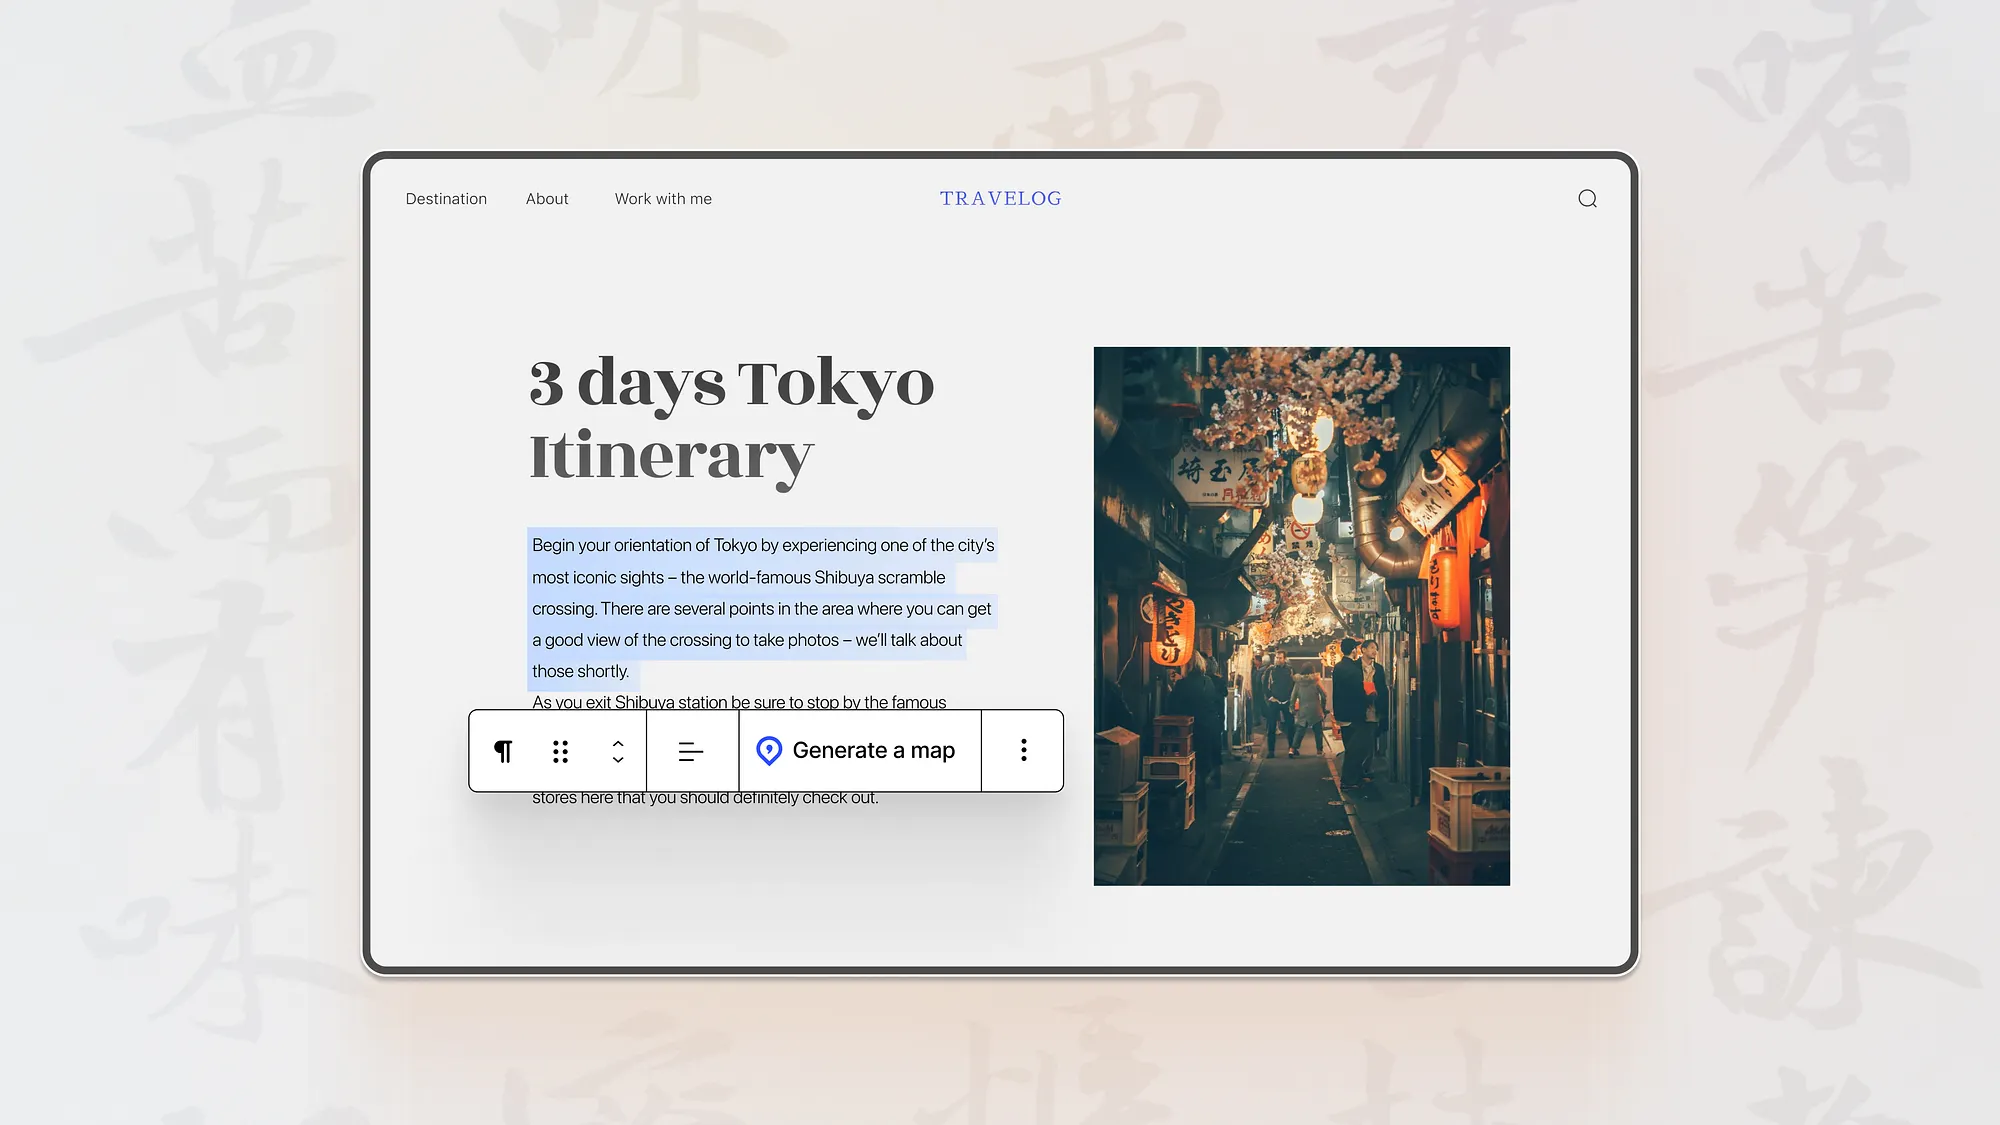
With Textomap we’re solving that problem, we’re making maps accessible and easy to create by letting people use the content in its original form (Article, Blog, Tweet, Email…), and with the Chrome extension, they don’t even have to leave the web page they’re in!
There’s a reason people don’t rush to use Google “My Maps” or other mapping tools. There is no easy and quick way to use them. You have to put in the time and effort to create them, learn the tool, and manually add each place, etc…People just don’t want to invest that time.
With Textomap we’re solving that problem, we’re making maps accessible and easy to create by letting people use the content in its original form (Article, Blog, Tweet, Email…), and with the Chrome extension, they don’t even have to leave the web page they’re in!
Read the latest insights from Textomap

3 min read
How AI is providing new and exciting opportunities for teachers and students to engage with knowledge
Artificial Intelligence is rapidly transforming how teachers approach education, offering new tools that enhance teaching and learning.
4 min read
How to create maps from your WordPress website in seconds
As a WordPress user, you may want to display travel destinations, historical events, or geographic information on your website. With the Textomap Plugin, you can create and embed maps FROM your content FOR your content in seconds.
4 min read
The Top Destinations in 2024 According to National Geographic's Cool List
As the year draws to a close, National Geographic unveils its highly anticipated list of destinations to add to your travel plans for the upcoming year.
4 min read
5 Ways to Increase Your Travel Affiliate Sales
Affiliate marketing requires a delicate balance of strategic integration and trust-building. Here are five nuanced strategies to seamlessly weave affiliate marketing into your content, boosting engagement and ultimately increasing your affiliate sales
Usecases & Solutions
For Educational institutions
For Content Creators & Bloggers
For Travel Agents & Operators
For News & Media
Textomap Chrome Extension
Textomap.com
We harness Artficial Interlligence with human creatvity to provide tools for a more productive and simple life
Contact us